

An exhibition remains a definitive pinnacle of a photographer’s career, acting as the physical manifestation of years of dedicated work and artistic growth. While digital platforms like Instagram allow us to broadcast images to a massive audience instantly, they often lack the enduring professional weight and ‘gravity’ of a physical show.
If you examine the biography of any highly-respected photographer, you will notice that it never highlights viral social media engagement metrics – instead, it is a resume built on prestigious awards, published books, and gallery exhibitions.
Beyond the professional standing, a real-world exhibition provides a level of permanence and prestige, along with a vital social and sensory experience that a smartphone screen can never duplicate. A large print in itself, can be captivating – a physical work of art.
Beyond the print, a gallery space creates a dedicated, uncluttered, minimalist environment where viewers are encouraged to slow down and truly engage with the narrative behind each image.
However, making the transition from a hard drive full of digital files to a professional gallery space is a significant, and often daunting leap. It requires a shift in mindset – moving from a bunch of singular, often unrelated images – to the demanding, deliberate process of creating a coherent physical show. So what are the steps to putting on a successful exhibition?
The foundation – choosing a topic
A truly great exhibition is rarely the product of a lucky weekend with a camera – rather, it is often built over an extended period of time. The foundational step is identifying a subject that resonates with you deeply enough to sustain your interest for the long haul.
The scope of your topic is entirely up to you. It could be purely aesthetic – such as the shifting forms of clouds – or something deeply psychological, socio-political or even completely abstract. You might choose to explore an off–beat hidden world that the general public knows little about, or perhaps showcase specific trends of our era.
When exploring the history of the medium, it is essential to look at the work of past masters as a source of inspiration rather than a limitation. It is easy to get caught up in the fear that ‘everything has been done before’, but this ignores the fundamental truth that every photographer possesses a unique visual signature.
Because the world is constantly shifting, no two bodies of work will ever be identical – the intersection of your personal perspective and the current moment ensures that your project remains entirely your own.
The critical eye
Once you believe you have a body of work, you need to 'step outside' your own ego. Photographers are notoriously bad at judging their own images because they remember the effort it took to get the shot. The long hike, the cold morning, the difficult subject, or the personal nostalgia of that period of their own history – the viewer doesn't care about the your effort or memories – they only care about their own ‘relatability’ and aesthetic result.
This being said, an artist’s purpose, story or message behind the image can hold significant 'academic weight' to the viewer. Ultimately the viewer, or buyer, needs to have a connection or emotive response to the image, or the exhibition as a whole.
So do you really need to ‘third person’ your own work? Perhaps you don’t need to! Many great artists just ‘do what they do’ – and other people end up resonating with their work. But generally starting off, you may need to look at your own work as if they were taken by a stranger.
To do this effectively, seek feedback from artistically minded people – not just friends and your mum who will tell you everything is ‘great’ – but peers who have strong aesthetic game, or mentors and curators who understand composition and narrative. Beyond the single images – don’t forget that an exhibition is also about how all the images work together in symphony.
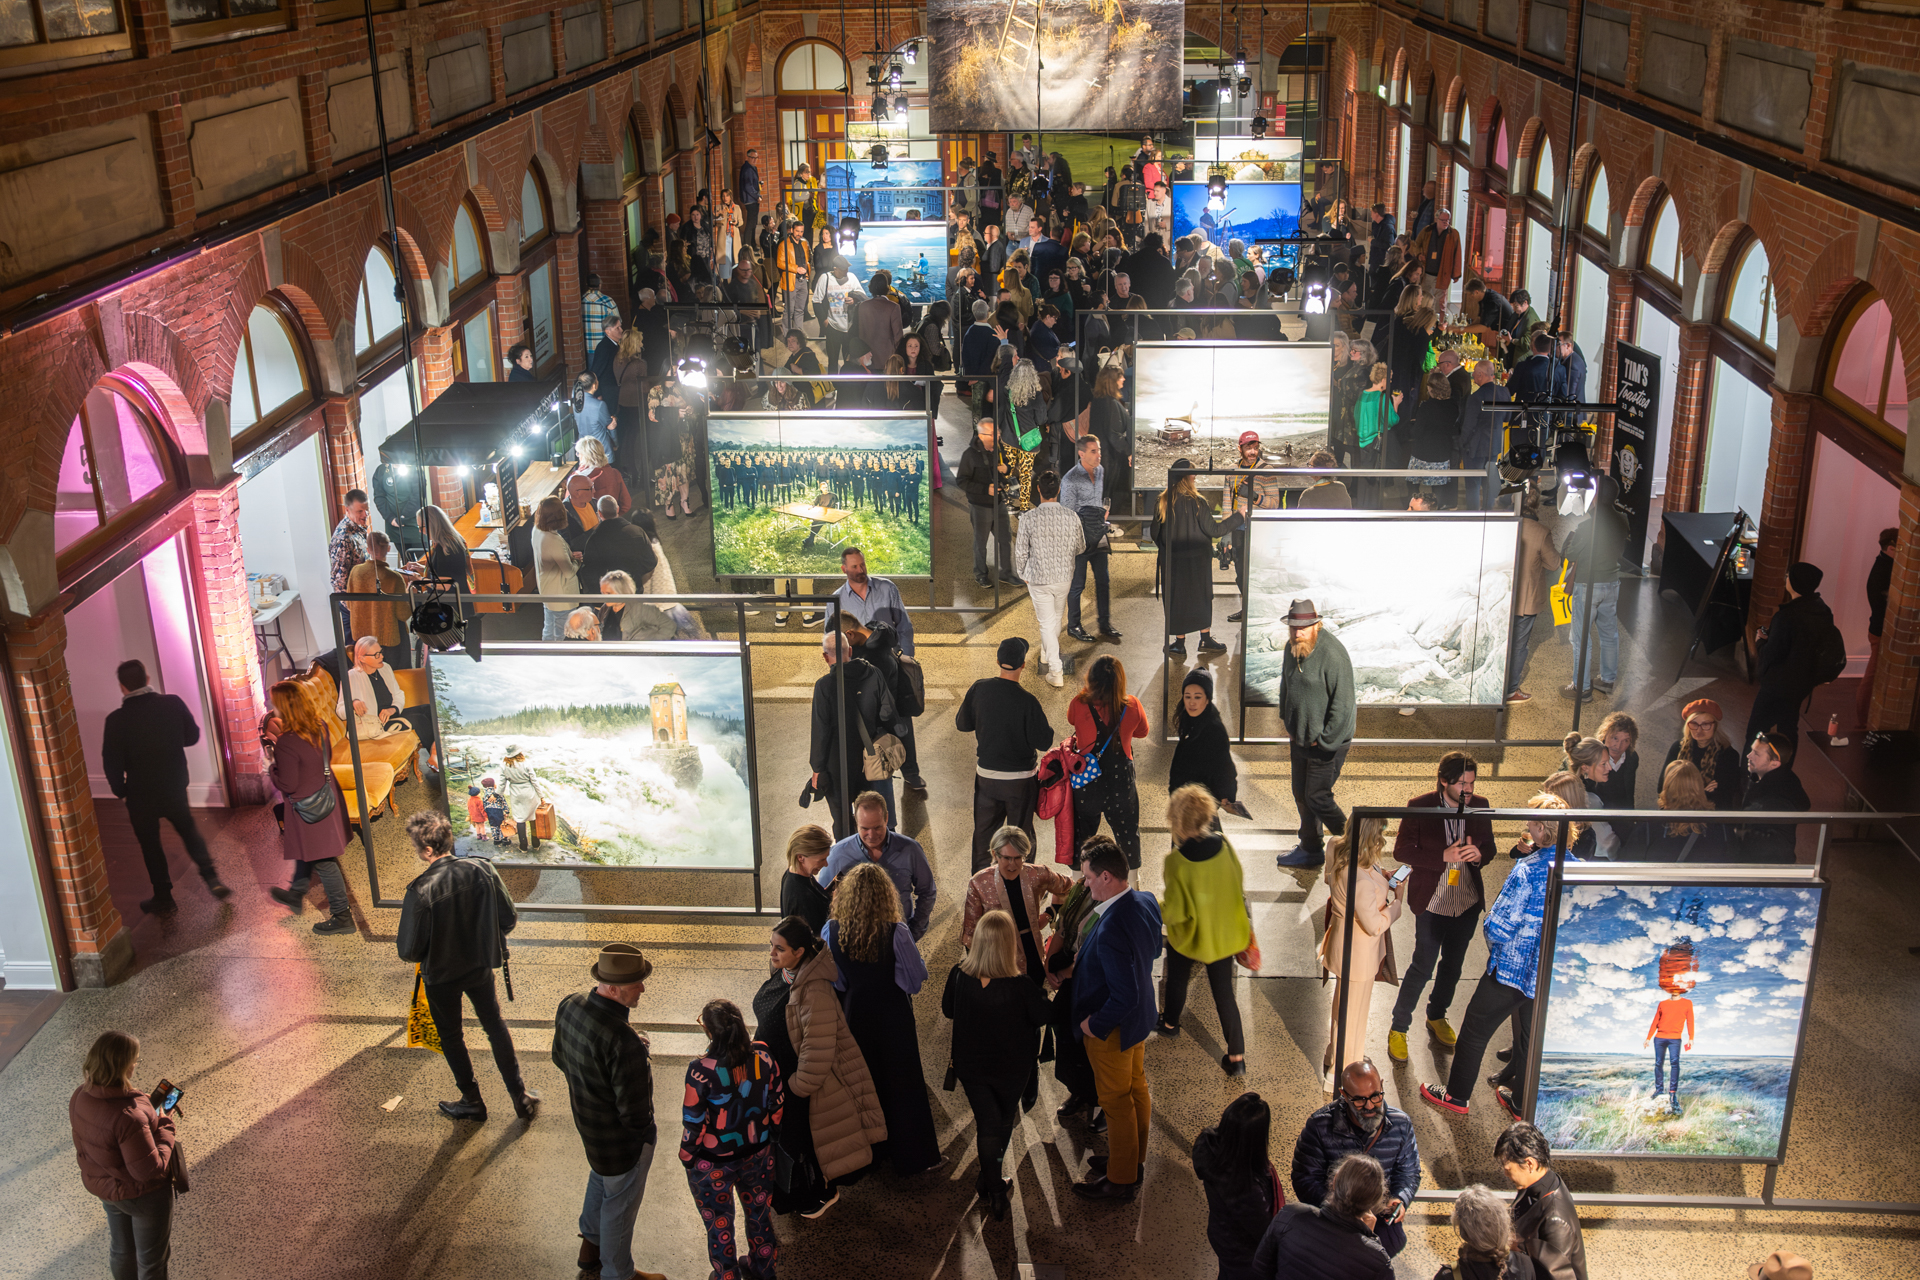
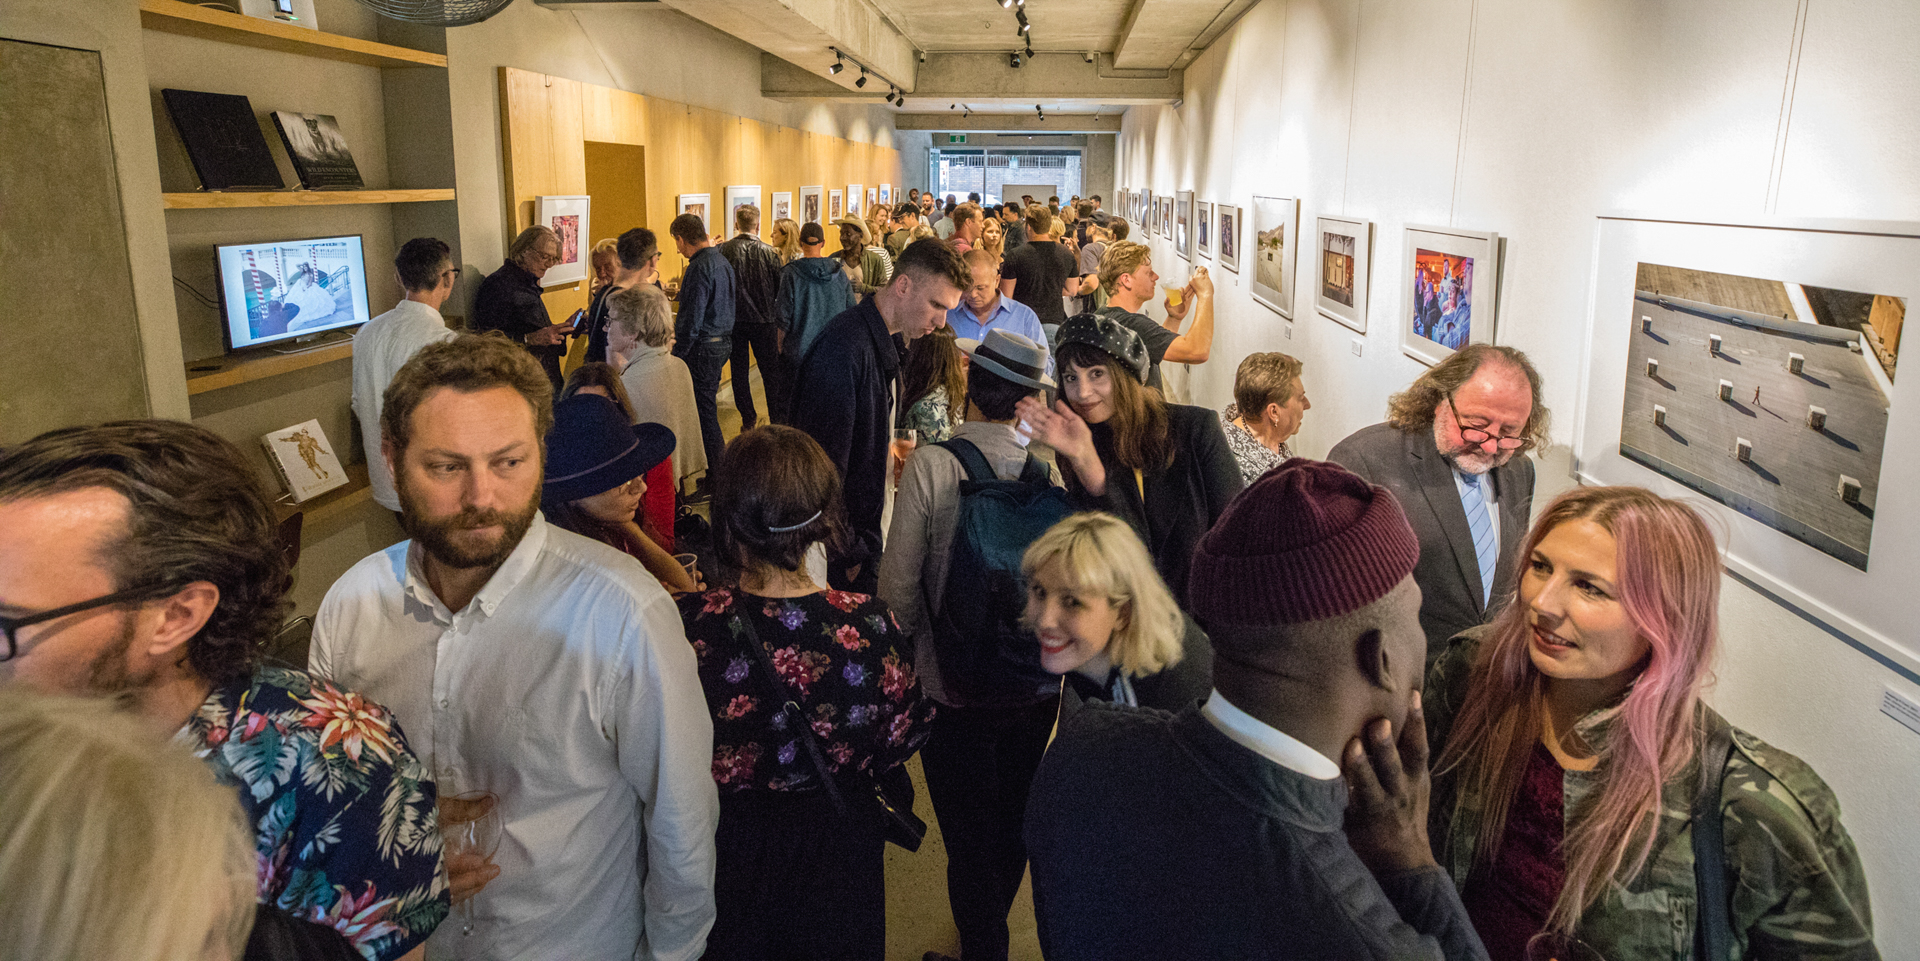
The venue
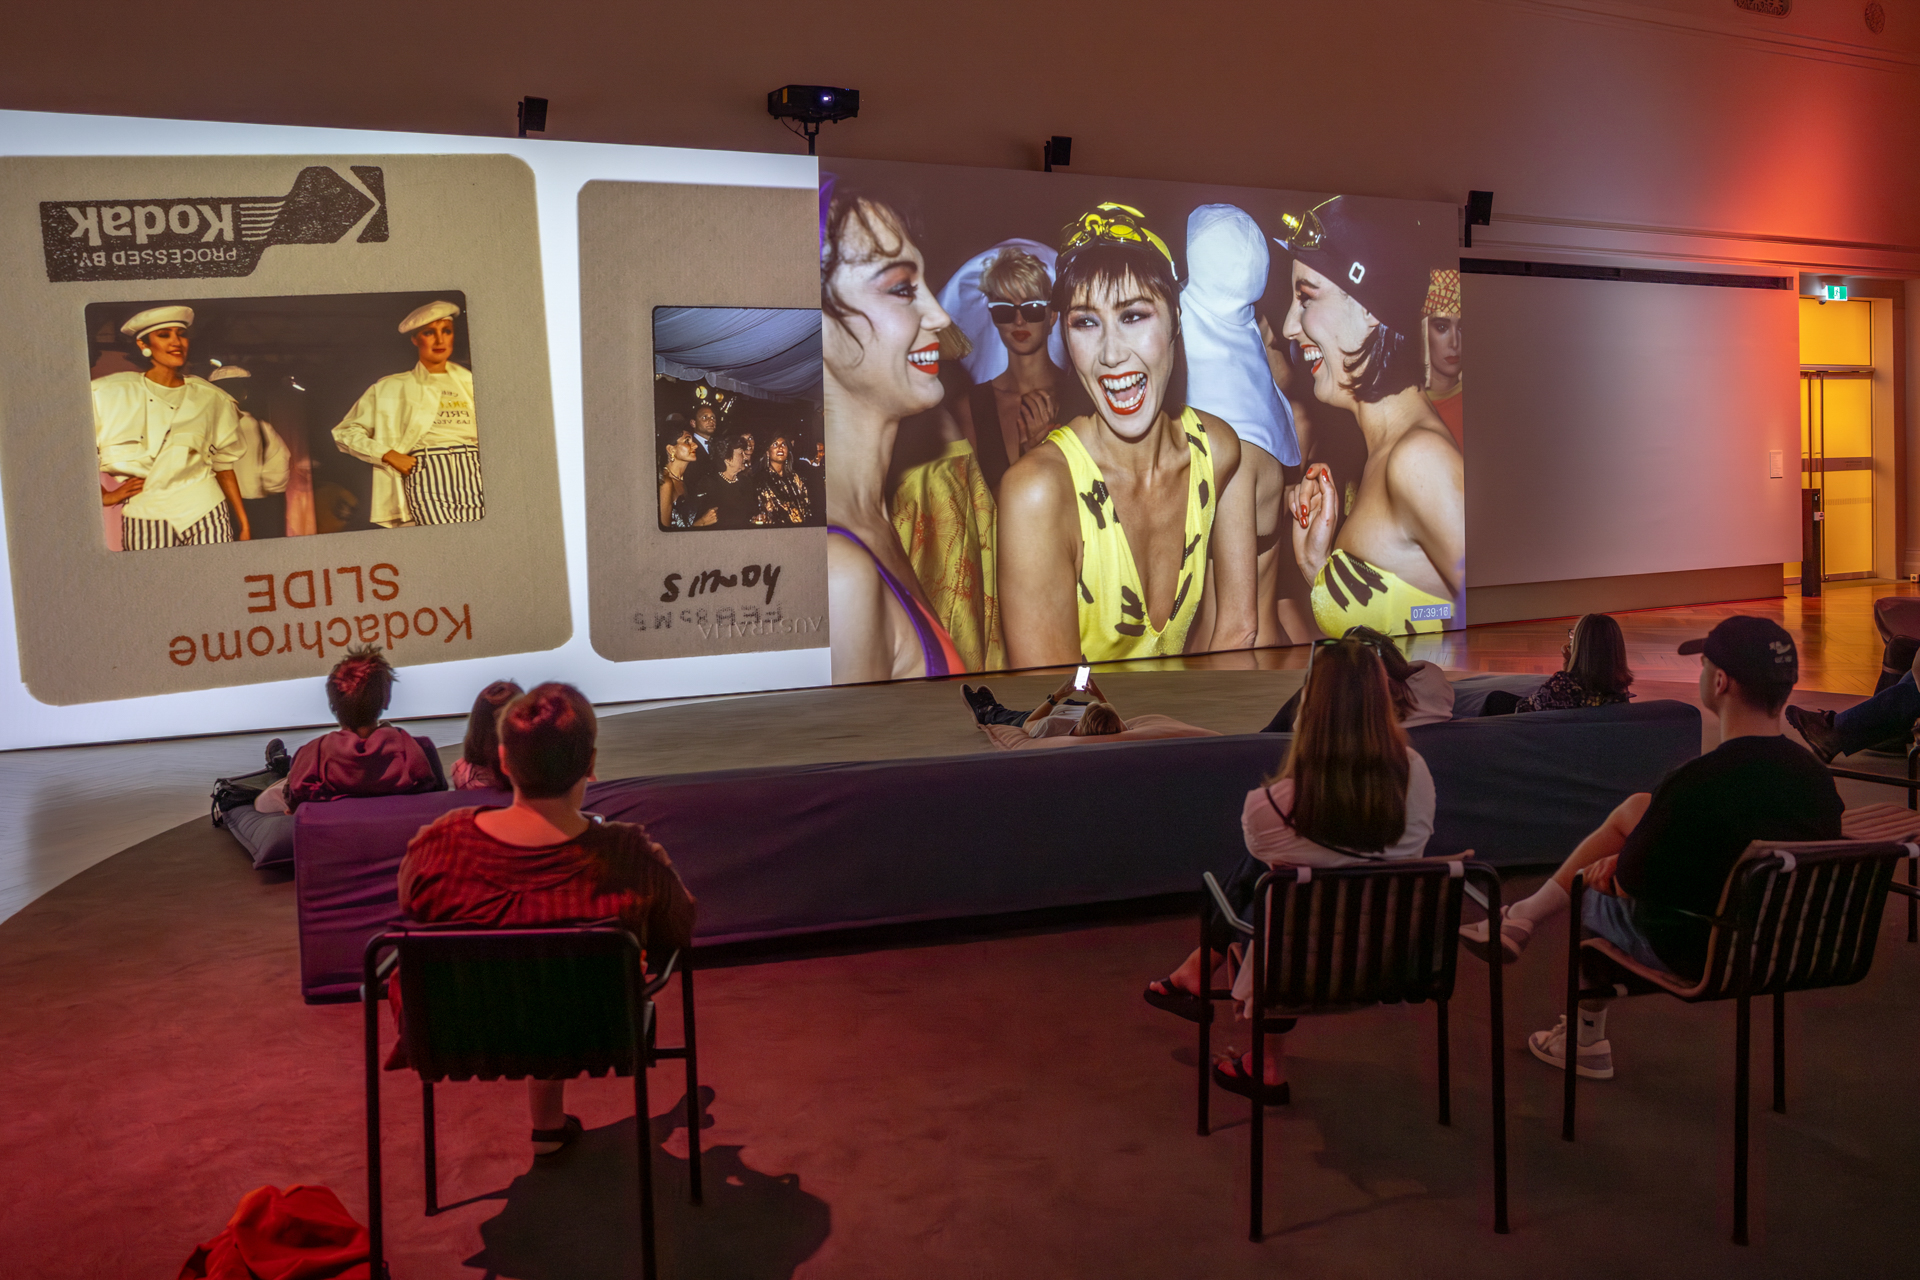
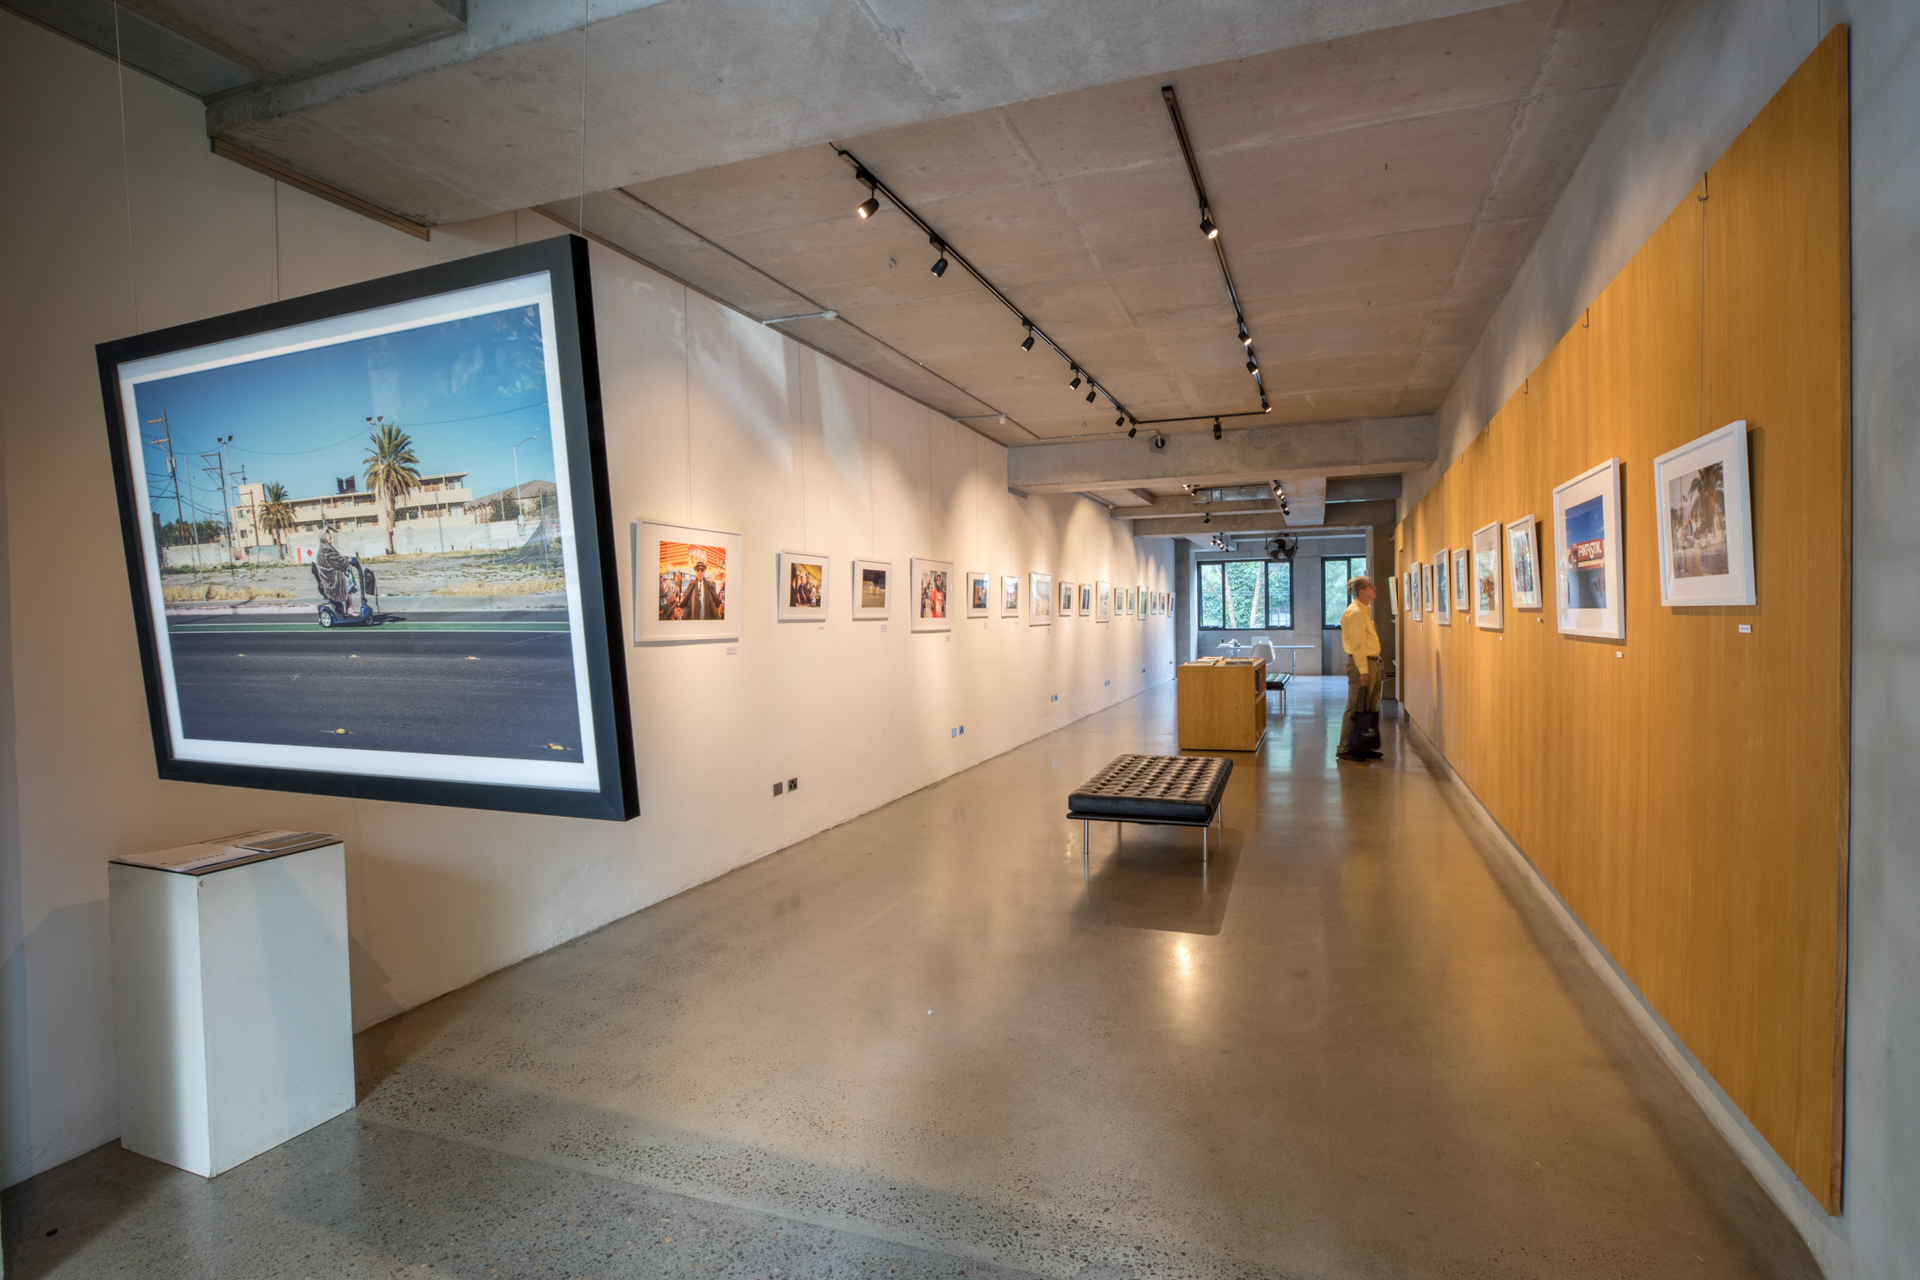
The venue should match the maturity of the work. If this is your first foray into exhibiting, do not feel you must start at a high-end commercial gallery. As you can see by some of this article’s accompanying images, there is a wide array of ways to show your work – from framed to unframed, to large or small, or in halls or ‘white cube’ galleries or even projected in a lounge type environment.
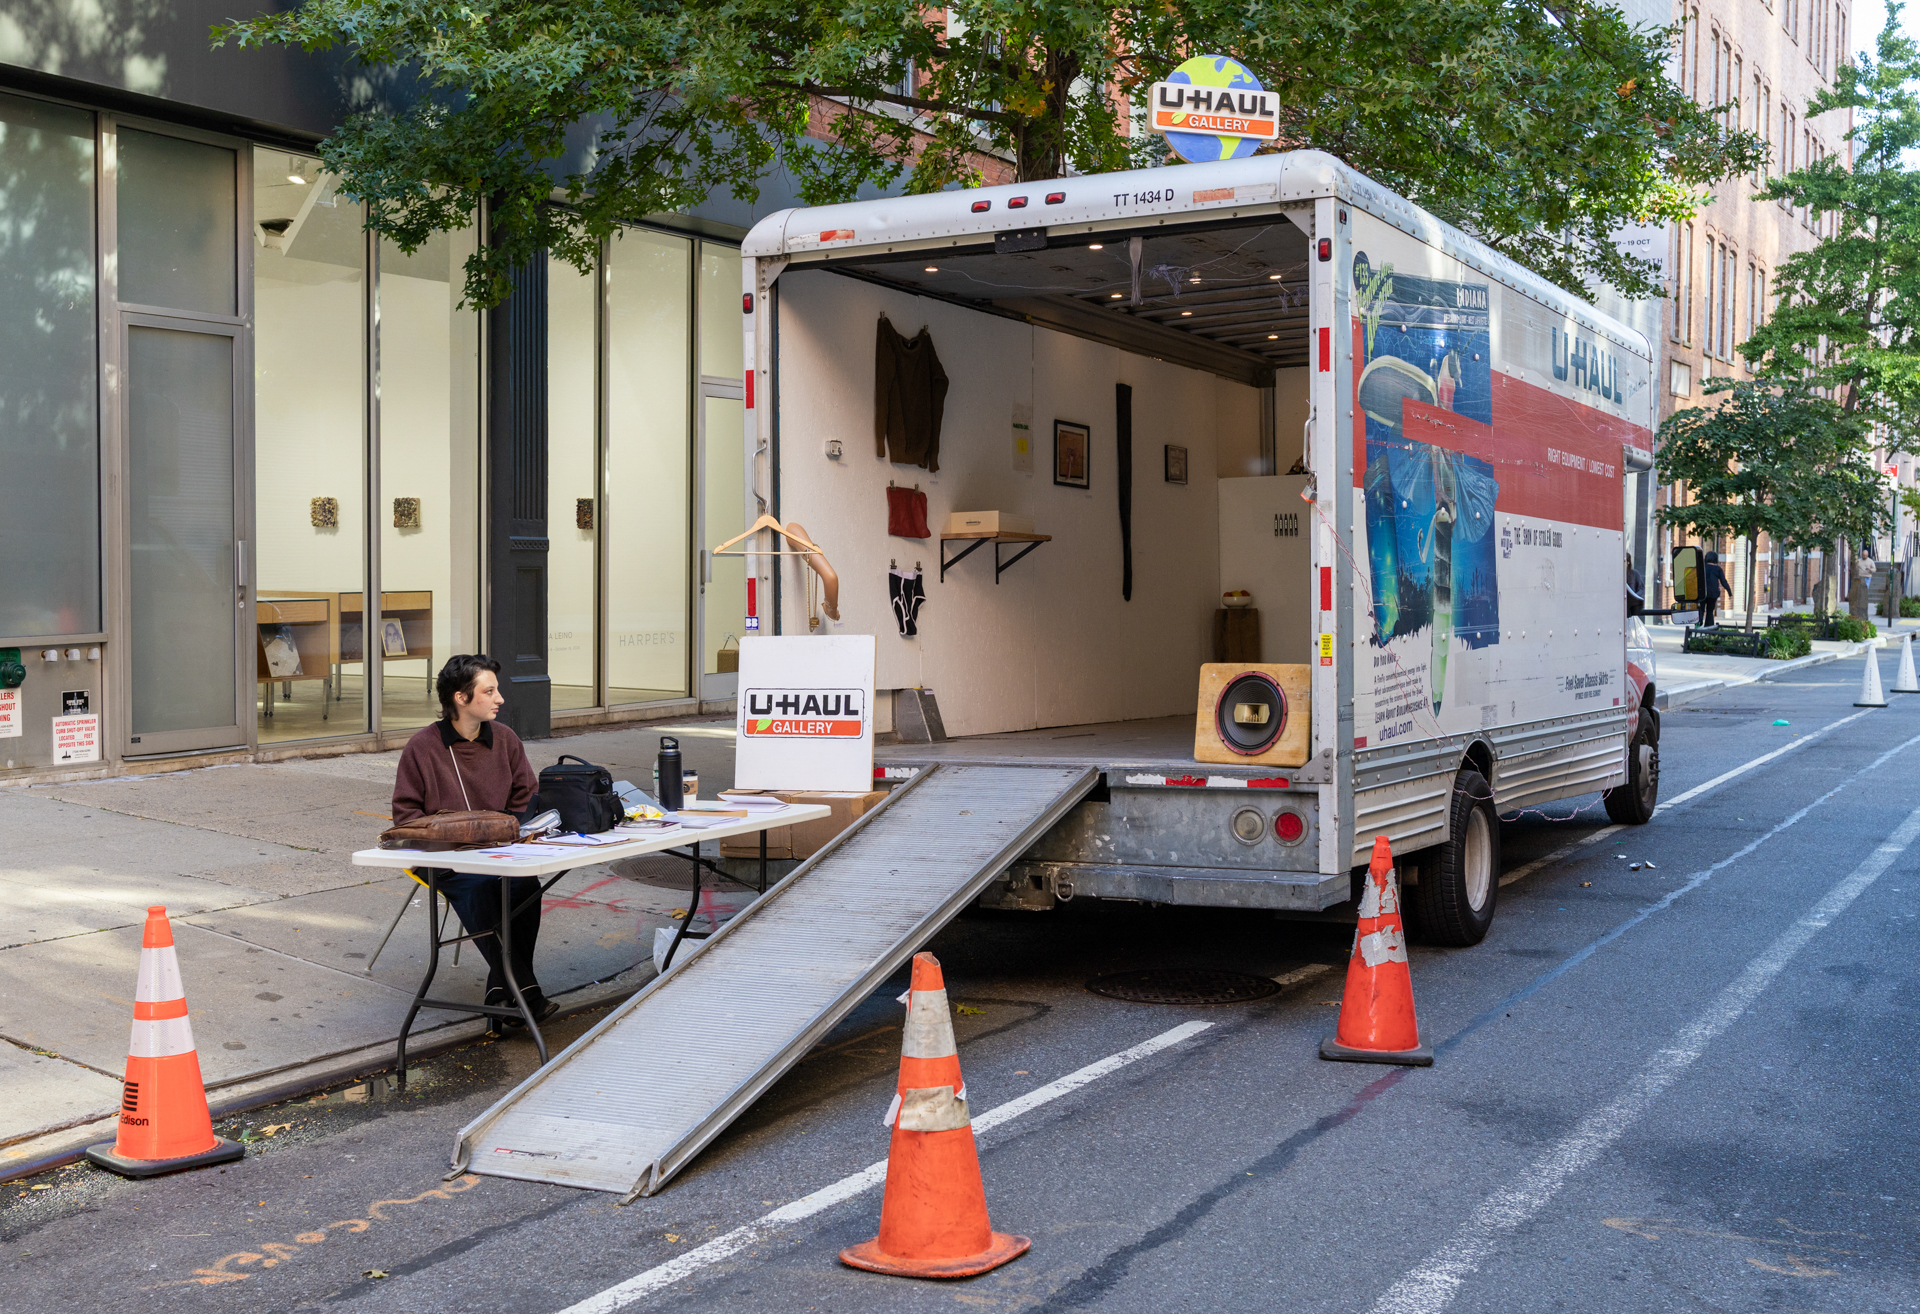
Cafes, libraries, and small community spaces are excellent starting points. They offer high foot traffic and lower financial risk. Don’t be afraid to start small. Just do six to ten photos at A4 or A3, frame them yourself, and have a show at your local cafe. The cafe gets free PR, a lot of guests on opening night, beautiful images on the walls – and you get a free space to test the waters.
If your work is ready for a professional gallery, the approach should be formal. Research the gallery’s existing aesthetic – don't pitch a street photography series to a gallery that specialises in paintings. When approaching them, don’t just send a link to your website. Consider taking in a high-quality print or a well-produced portfolio. Meeting a gallery owner personally makes a lasting impression that an email cannot replicate.
Commercial gallery business models and fee structures vary significantly. Venues generally operate on one of three arrangements: a flat rental fee, a sales commission (typically 40%–50%), or a hybrid model combining both.
Exhibition durations are equally variable. While commercial galleries and artist-run initiatives (ARIs) usually host shows for two to four weeks, public institutions and government-managed spaces often run exhibitions for several months, or even a year.

How many prints?
You now have the venue – how many photos should you exhibit? It depends entirely on the venue's size. Avoid crowding the walls – images often need 'negative space' to breathe. A small to mid-sized gallery typically accommodates 8 to 30 prints all depending on print size.
If supplementary images are vital to the narrative but won't fit on the walls, consider displaying them on a high-quality monitor to show the project's breadth. Finally, if the space is large or your budget is tight, consider a group show to share the exhibition costs and workload.
Printing
Unfortunately, budget prints from a retail chain like Officeworks simply won’t suffice for a gallery exhibition. To achieve professional results, you need archival prints created with pigment-based inks on premium, acid-free substrates that are built to last.
You will often hear the term ‘Giclée’ used interchangeably with large-format inkjet printing. While they rely on similar technology, a Giclée print specifically denotes a fine-art standard, which implies a precise, high-resolution print made with lightfast pigment inks on archival-grade paper.
The options for paper stock are incredibly vast, ranging from high-gloss surfaces to heavy, 300gsm textured cotton rags, or even delicate, translucent rice papers. The best way to choose is to visit a reputable fine-art printer to inspect their stock in person, or order a test pack. Industry-standard brands like Hahnemühle, Canson, Moab and Ilford are the benchmarks for exhibition quality.
Framing
Ouch – this can take most first timers by surprise. While an A2 Giclée print might cost around $100+, a custom archival frame can easily double or triple that figure. For example, professionally framing a $240 one-metre print in a 1.2-metre finished high-quality archival frame can easily run upwards of $500+.
One way to mitigate this cost is to invest in reusable ‘gallery frames’. Some artists and venues maintain a collection of high-quality, standard-sized frames with accessible backings, allowing prints to be easily swapped out for the next exhibition.
Another alternative is to source budget-friendly, ready-made frames online or from retailers like Ikea. However, this is very much a case of getting what you pay for. Cheap retail frames are prone to warping, use non-archival backings that can damage the paper, and rarely feature UV-protective glass. In contrast, a proper custom archival frame uses acid-free materials and museum-grade acrylic to shield the print from humidity, UV degradation, and environmental wear.
If traditional framing is financially out of reach, you can opt to hang larger prints using a discrete magnet system. Far from looking cheap, this minimalist approach has become a celebrated aesthetic in contemporary galleries – even renowned Australian photographer Bill Henson has exhibited his monumental, unframed works at Sydney’s Roslyn Oxley9 Gallery using this exact method.

Glass Vitrines can be used for accompanying books or artifacts. Photo: © Tim Levy
The narrative – titles and text
The title of your exhibition is your hook. It should be evocative but not overly cryptic. A good title sets the mood before the viewer even sees the first print.
Similarly, the text accompanying the images – the artist statement and the individual titles – should add value. Don't simply describe what is in the photo (e.g. Man on Bike) or define it as ‘Untitled’. Instead, use the text to provide context, emotional depth or even philosophical conjecture. An interesting wall label or a short paragraph next to an image can help the audience connect with the ‘why’ or the artists ‘intent’ behind the work.
Pricing the work
Pricing your work requires a balance of realism and self-worth. Research what similar work is selling for in your city. If you are an emerging photographer, start at a point that covers your production costs with a modest profit. As your reputation grows, your prices should follow. The going price for a framed one meter print may be between $1,500 – $3,500+ for a first edition – but don’t forget that art is only worth what people are prepared to pay.
Prints by celebrated artists from near-capacity editions can command tens of thousands of dollars. At the peak of the market, these values can skyrocket into millions, highlighted by Cindy Sherman's landmark AU$5,000,000 sale in 2011.
To offset the high costs of an opening night, look for sponsors. Local breweries or wineries are often happy to provide drinks in exchange for their logo on your invitations and signage. Likewise, some professional print labs may offer a discount in exchange for being recognised as a partner.
Publicity and the opening night
An exhibition is a social occasion. To get people through the door, you need a multi-pronged publicity strategy - which includes the following.
Promotional and room sheet printing: Print a postcard or A5 size exhibition flyer – you can send them out to media, leave them in surrounding stores, or have them as keepsakes for visitors. Don’t forget once you have titled your work and come up with pricing, you need to have a printed roomsheet, or print out a QR code link to a website that has information about the exhibition.
Press Releases: Send a concise, well-written release to local newspapers, arts websites, and photography magazines. There is no guarantee they will run something. It may be a ‘slow news week’ or they may be incredibly busy, or your work doesn’t fit their fanbase.
Social Media: Create a ‘countdown’ to the opening, showing behind the scenes glimpses of the printing and framing process. Run a series of local advertisements. Keep pushing the show.
The Opening: Obviously you will be there early to greet visitors. Also, it’s customary to do an opening speech. You don’t have to be a showperson or media trained. Write what you want to say onto palm cards as well as who you want to thank, and keep it short and sweet. It becomes easier when you realise you are talking about your passion with people who share your interests.

Photo: © Tim Levy
The legacy – archiving and storage
Once the wine and snacks are consumed, and the show is finally over, you need a plan for the ‘bump out’. Ship sold prints properly, while unsold prints must be stored correctly. Use a concise filing system and acid-free storage boxes to ensure the prints don't degrade over time. Maintaining a professional archive means that if a collector or curator asks for a specific piece six months later, you can locate it instantly.
Exhibitions may seem like a one hit thing, but great work stands the test of time – and you can exhibit selected works at a later date, or another city, or in various group exhibitions. For example, Trent Parke put on a specific exhibition in 2008, only for it to be reinstalled nearly 20 years later in the National Gallery of Australia.
Conclusion
Technology has made image-making easier than ever, but it hasn't changed the soul of a photograph. Beautiful, intriguing, and memorable prints remain the heart of our craft. By moving from screen to print, you join a 150-year old tradition that can rescue your artwork from the endless scroll of the digital void, and anchor it in a physical reality that can be enjoyed daily by its new owner. ■