
Retouch like the pros
European campaign for the Panasonic Lumix G camera range
Advertising agency: Brave, London
Photographer: Stuart McClymont
Photographer’s agent: Jamie Stephens Represents (JSR)
Retouching: Limehouse Creative
The backstory
Stuart and Brave approached us with a challenge. We often see portrait work in advertising, however shooting and retouching portraits that really stand out from the rest is a real challenge.
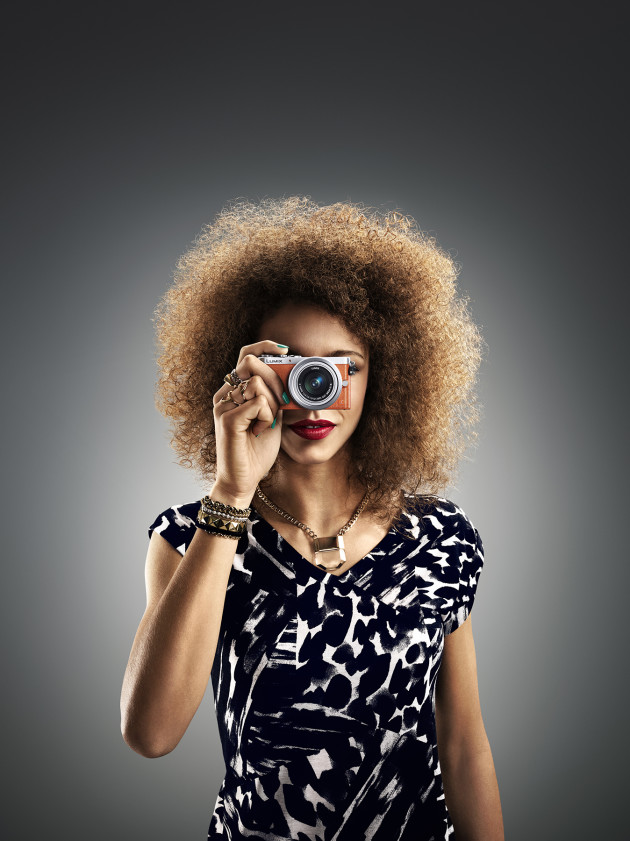
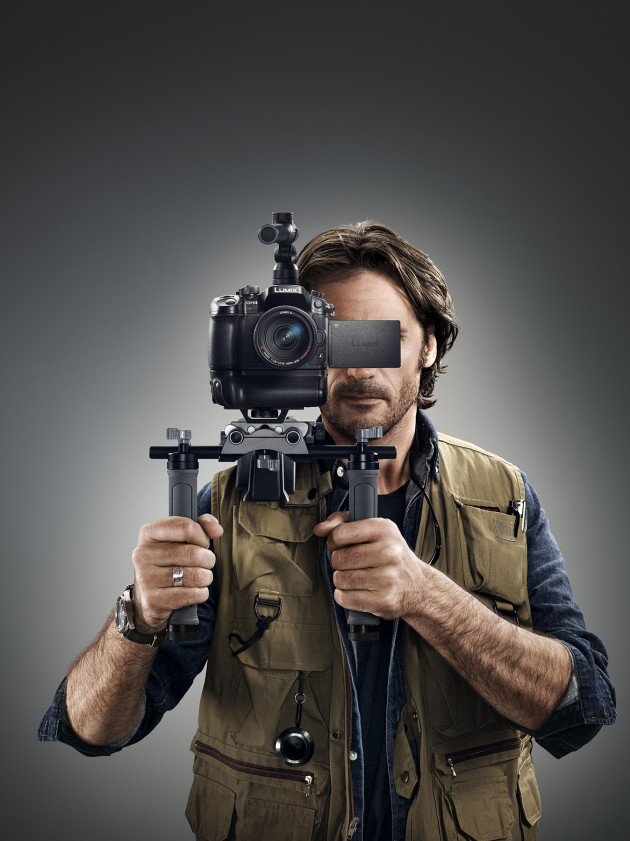
The portraits needed to be stunning. They were for the launch of Lumix's new range of cameras so the shots and detail obviously needed to be best-in-class, for both the products and the talent. Added to that, some of the talent had extremely curly hair – a challenge in itself when it comes to great cutouts and new backgrounds. And to top it off, one of the talent was Ronaldo himself, arguably the most famous footballer in the world. Suffice to say, expectations were high.
Achieving the quality result would have been impossible without great photography. And some pretty nifty retouching. Check out the tips below to get a bit of an insight into how we achieved the final results.
Layer and group masking
When working with digital images, the cardinal rule is to never be destructive to an image, with the ultimate aim of non-destructive editing. In masking any object or person, in an ideal world, you want to use the path tool to deep-etch all surfaces and edges as close as possible to avoid any fringing around the object.
Afterwards, you can then make a selection of this path and load this mask up creating a layer mask. You can also opt to keep the path by loading that up as well and applying it as an editable vector path, but turning it off via Shift+click.
Feel free to delete from the path box after applying to a layer. This keeps the paths associated with the layers they relate to, so you end up with your layer, your mask and your vector path all nicely grouped together, as per screenshot. A very good reason for doing this is if you move the layer, then the mask and the path move with it which wouldn't happen otherwise.

On the feather-selected layer mask, we can add soft masking by going in to the channels or selective masking, or even just with hand drawn brushes. We can use this to refine our mask and cut out complicated feathered shapes. What we are left with is a layer with a layer mask and an associated path for the hard areas within. We can now put this into a group, apply a group mask, and draw on this mask to delete additional areas and further refine.
By turning off all masks and paths, we are right back to our starting images but we have layers and levels of masking within. This ensures that as you work, the image is never destroyed, even in areas where it might not be visible – for example, if you place one object in front of another.
Things change in a job, and, if or when they do, by following this approach you will always have something to go back to. This process also helps you organise, manage and group your layers and masks.
James Lucas is a senior retoucher and partner at Limehouse creative.
www.limehousecreative.com
