
Sponsored: 5 easy steps to create a drone hyperlapse video
The trend of capturing and sharing drone videos is, quite literally, taking off – and with good reason. From breathtaking landscapes to hilarious event footage, drone videos are fun to shoot and can produce a wide range of awesome content.
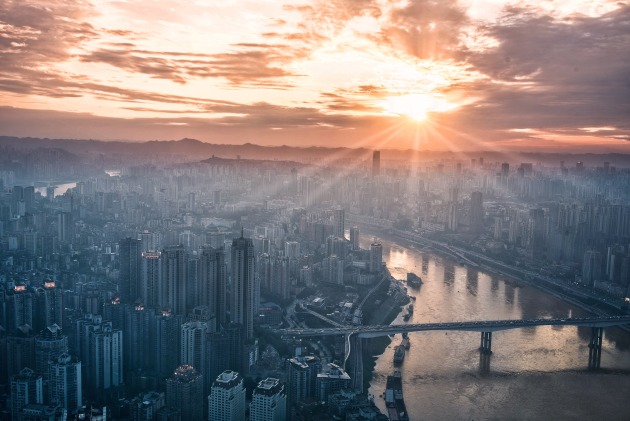
Some of the very best drone videos are achieved with hyperlapse effects. Hyperlapse is where the action in a scene is sped up while the camera moves over considerable distances – similar to a timelapse, but with more motion. It’s a great technique that can be used to create highly unique, captivating videos.
While hyperlapse might sound a little tricky to pull off, shooting this kind of footage is actually pretty simple when you know the right tricks. Thanks to the recent advancement of drone and camera stabilisation technologies, it’s now possible to capture stunning time-lapse videos – even with consumer-grade drones. To help you set up your drone for the very best hyperlapse results, the experts at Ted’s Cameras have put together a quick 5-step tutorial guide:
1. Select the right footage
Choose a calm, protected area to start your video where there’s minimal wind - too much movement of your drone can cause issues when compiling footage in post-production.
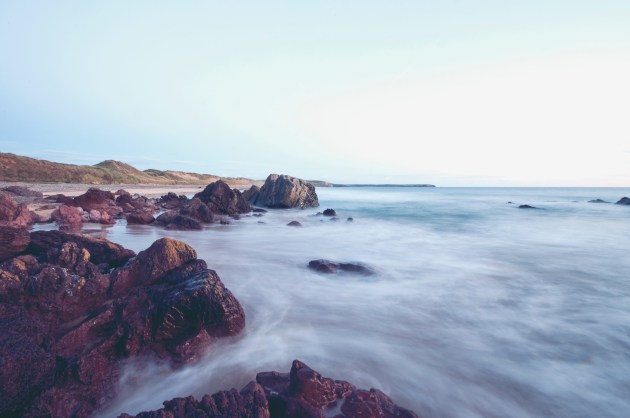
While you’ll want the weather to be calm, your subject should be the opposite. Hyperlapse videos work much more effectively when the subject you’re shooting has some kind of movement. Think speeding traffic, busy crowds, moving clouds or crashing waves – this will make for a more interesting, dynamic video sequence.
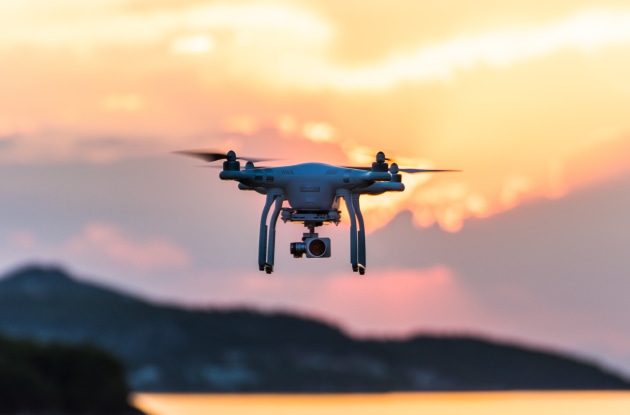
2. Choose the right drone
Drones with stabilised gimbals are best for producing hyperlapse videos that are smooth and jolt-free, such as the DJI Mavic Pro Platinum Drone and the Phantom 4 PRO 4K Drone. A stabilised gimbal provides a smooth and steady appearance to your footage and a mechanical aperture reduces the appearance of rolling shutter distortion in your fast-moving footage.
3. Know your camera settings
It’s important to be familiar with your camera settings – don’t be afraid to play around and test different options to see what suits you. Here are some of the key setting you might want to try:
- Set your drone to fly at a very slow speed
- Interval timed shot (fire every 2-5 seconds)
- Locked white balance (avoids colour shifts)
- Use waypoint mode or similar, which allows you to set your drone on a predetermined path and a smooth flight
4. Practice your post-production
Use a reliable post-production video editing program to compile all your files, such as Adobe After Effects or Vegas Pro. Most software will have a stabiliser of some sort, which will help give your video a smoother, more professional appearance.
5. Speed it up
It wouldn’t be hyperlapse without some hyper speed! Speeding up your video helps to achieve the stunning visual typical of hyperlapse videos. Try a high-speed SD card for your drone – this will shorten the required write-times and the timelapse capture interval, and stop your camera from freezing up.
It’s also helpful to program your drone to follow a path at slow speeds, while keeping the camera angled at a specific subject or single point of interest. Check out what apps your drone is compatible with to get the best programming results possible.
Be patient, stay creative, and have fun!
While it can take a while to get the perfect drone hyperlapse video, the results are definitely worth it. Most importantly, remember to fly safely, have fun, and enjoy the process – and don’t be afraid to experiment!
To check out a range of great and affordable drone options, head to Ted’s Cameras dedicated drone page today!